/brands/jacuzzi-hot-tubs/j400/j-475/j-475-front-view.png)
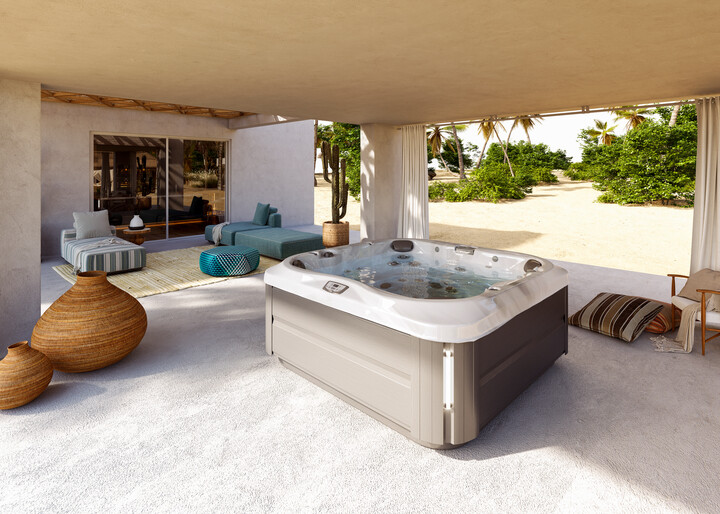
With over 60 years of industry experience, it’s no wonder why the Jacuzzi Brand is known as the pioneer for modern hot tubs.
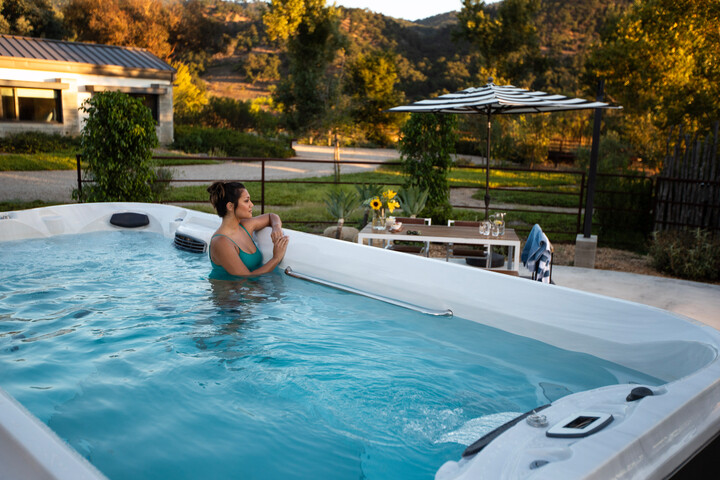
We are proud to carry the complete line-up of swim spas from the Jacuzzi Brand, as each model is equipped with the features,
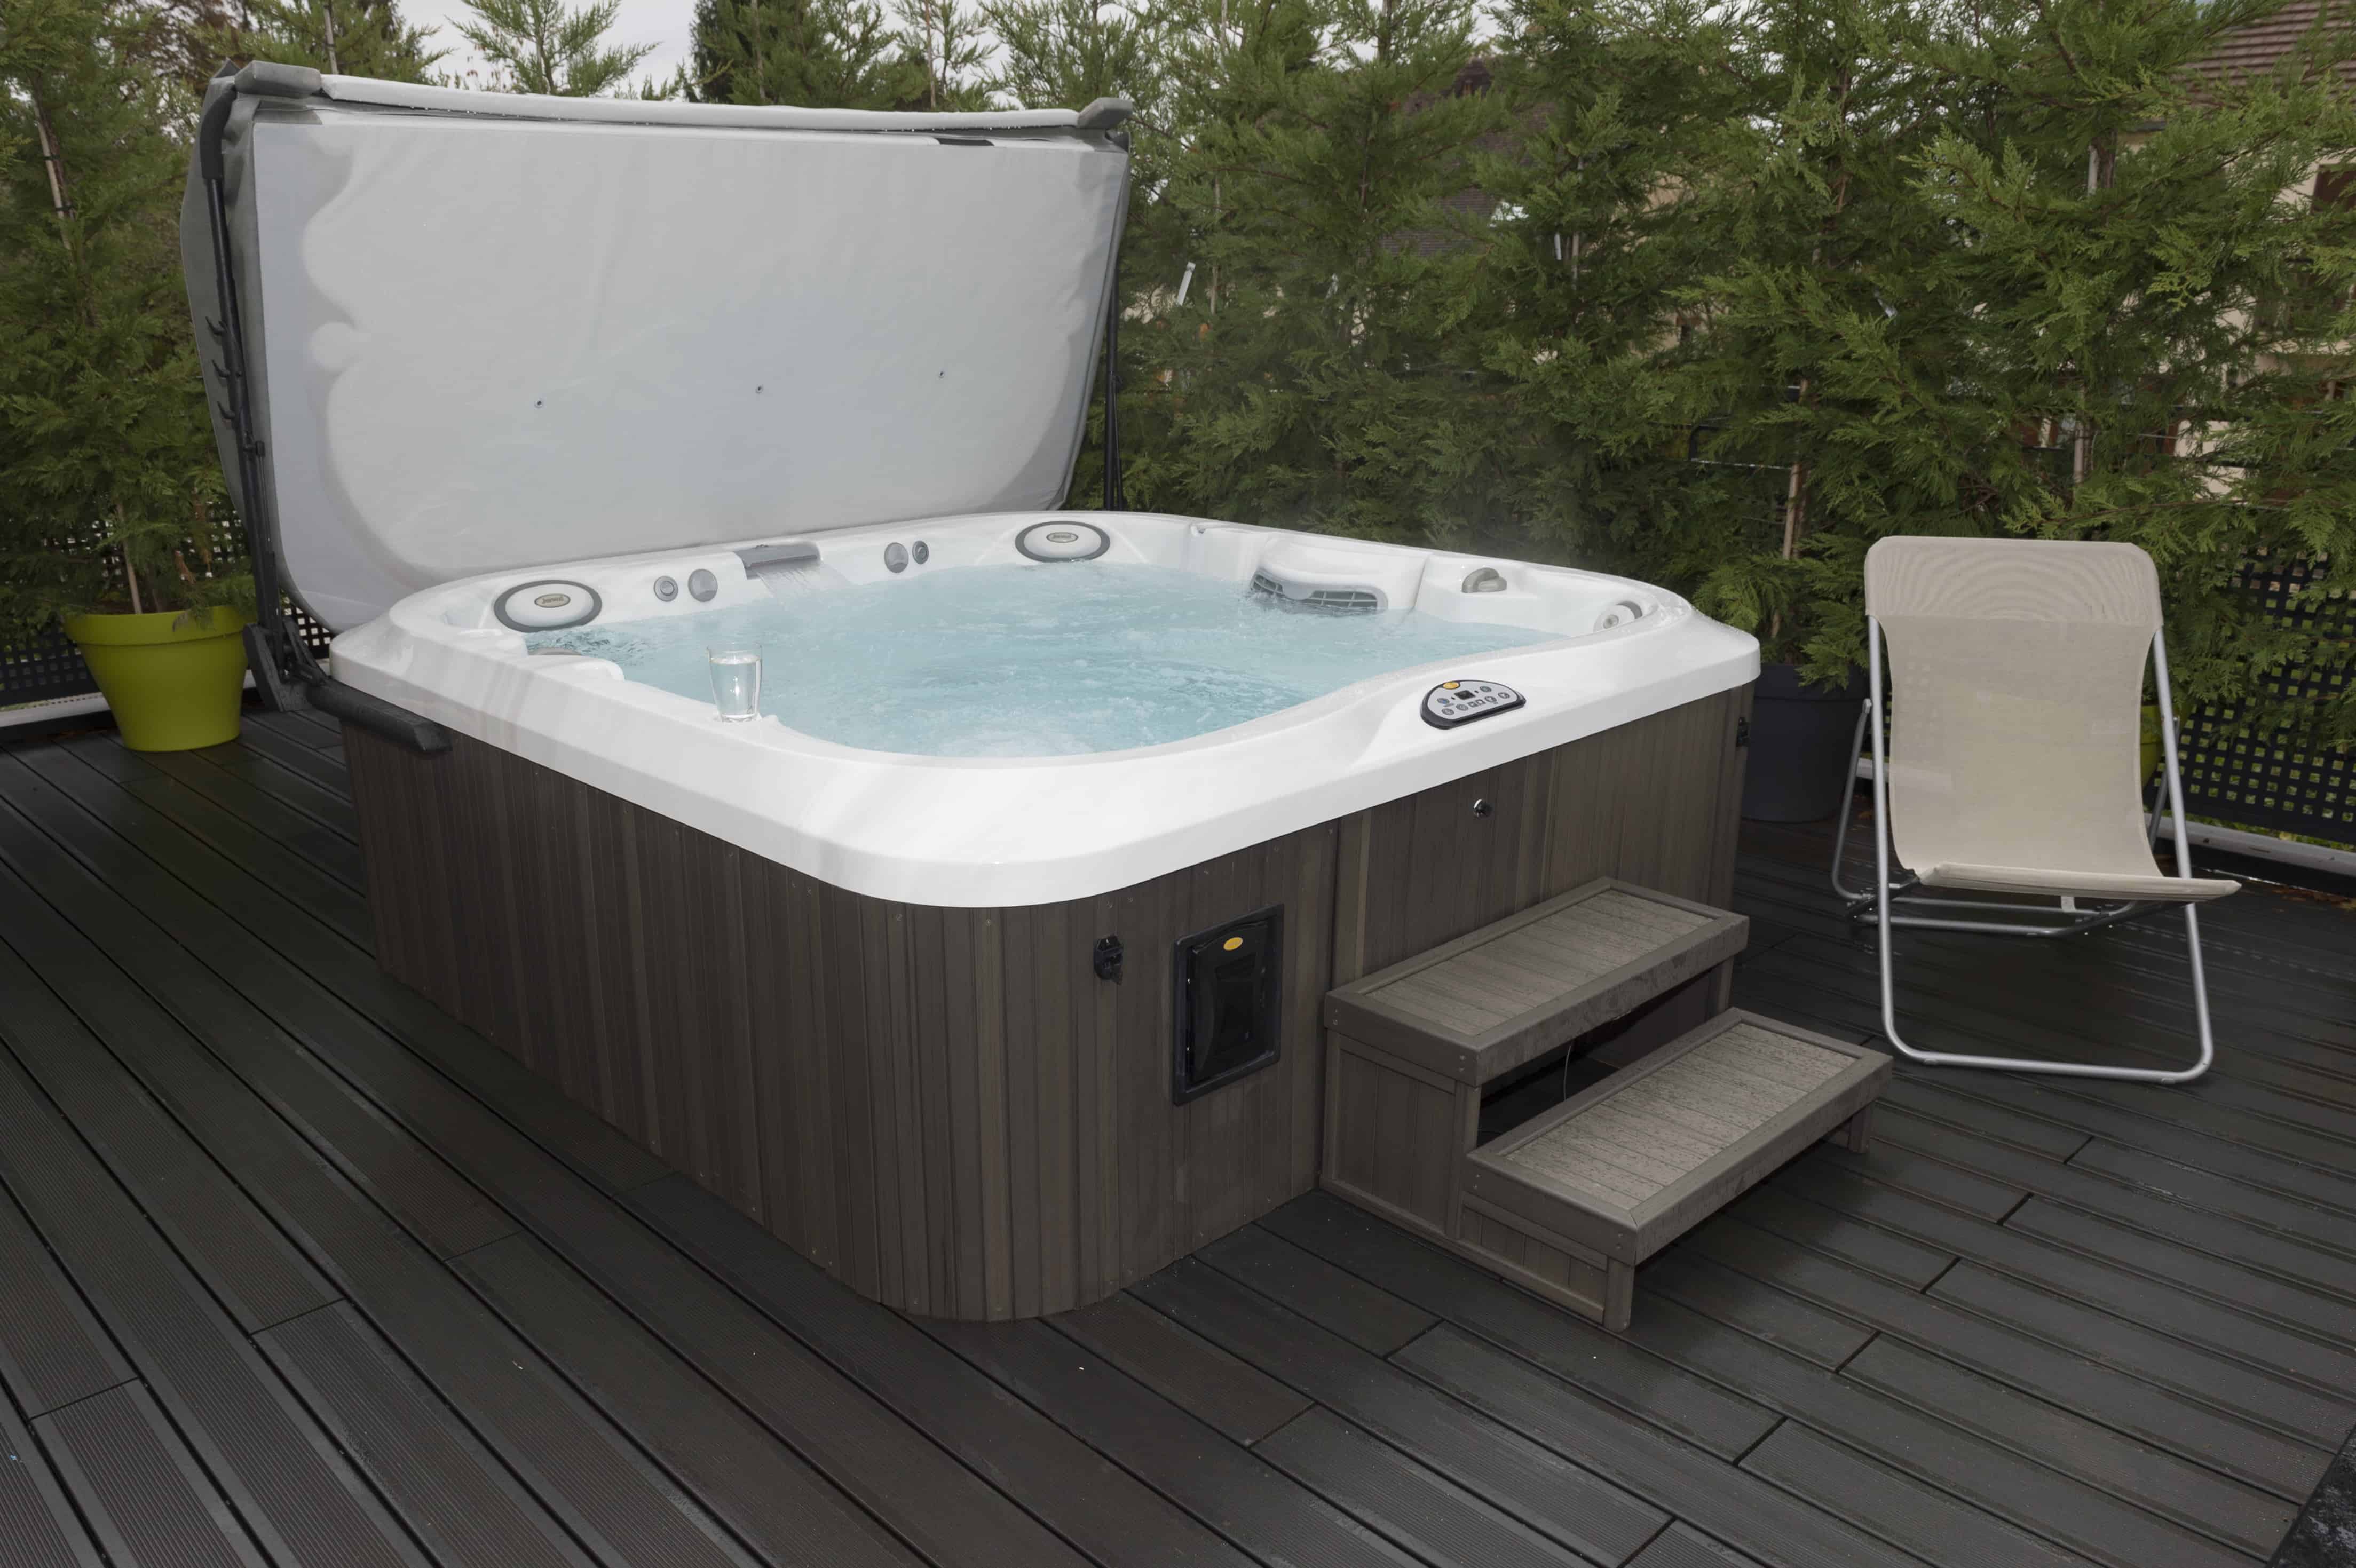
Fall brings with it a host of responsibilities, from raking leaves to putting away patio furniture.
Your autumn to-do list should also include winterizing your pool.
Before Jack Frost makes his appearance, it’s important to have the items you will need on hand to winterize and close your swimming pool.
The items you’ll need for winterizing your pool include:
Once you have all the products and tools you’ll need, it’s time to get to work.
About a week before closing your pool for the season, it’s important to test the chemistry of your water.
The pH levels should fall between 7.2 and 7.8, while the alkalinity should range from 80 and 120 ppm.
Calcium hardness should be between 180-220 ppm. Shock and algaecide may be necessary as well.
Once seven days have passed, you can get started on cleaning your pool. Brush the walls with the filter set at the drain or waste position. This will aid in removing debris clinging to the walls or liner.
Next, grab the vacuum and suck up any remaining dirt. If you see algae in the pool, you’ll need to scrub the areas with a special algae brush and then give it another vacuum.
Once the walls and floors are clean, you can move on to cleaning your pool’s skimmer baskets and pump’s hair trap.
Your ladder or drop in steps and solar blanket must all be removed and cleaned before storing them for the winter. Skimmer baskets can also be put away.
Larger items such as a slide or diving board will need to be cleaned but can be kept in place. Wrapping them in protective plastic will shield them from the elements.
Although you won’t want to drain your pool dry, some water should be pumped out to keep freezing at bay. The exact drainage amount will be decided by the type of pool cover you have. It’s important to follow the manufacturer’s drainage instructions.
This will ensure the water is at the correct level for bearing the cover and the weight of any snow or ice that may be on top of it.
Your cartridge filter should be removed and washed thoroughly before being stored. All other filters should be backwashed before you drain the water from the pump, filters, and pool heater.
This crucial step protects your pool’s plumbing by removing any remaining water from your lines. It isn’t an easy process.
Blasting too much air through the pipes can damage your lines. Due to the difficulty of the procedure, hiring an expert may be your best bet.
Using a winter cover will keep your pool free of contaminants while also keeping your water balanced. Pool cover weights are a good idea because they prevent the cover from sinking into the water.
During the winter, it’s important to keep the cover clear of snow. Rather than using a shovel or rake, which could pierce the cover, opt for a broom or long-handled brush to remove snow.
If the idea of winterizing your pool is less than appealing, we can help. Get in touch with us at Poolside Spa Services, to schedule a pool closure.
As the best pool supply store in British Columbia, we have everything you need to close your pool for the winter from pool safety covers to cleaning tools.
For more information about our pool closure service get in touch with us here. Our experts are always happy to help.

/brands/jacuzzi-hot-tubs/j200/j-215/j-215-front-view.png)
/brands/jacuzzi-hot-tubs/j400/j-485/j-485-front-view.png)
/brands/jacuzzi-hot-tubs/j200/j-225/j-225-front-view.png)
/brands/jacuzzi-hot-tubs/j400/j-495/j-495-front-view.png)
/brands/jacuzzi-hot-tubs/j200/j-235/j-235-front-view.png)
/brands/jacuzzi-hot-tubs/j200/j-245/j-245-front-view.png)
/brands/jacuzzi-hot-tubs/j200/j-275/j-275-front-view.png)
/brands/jacuzzi-hot-tubs/j300/j-315/j-315-front-view.png)
/brands/jacuzzi-hot-tubs/j300/j-325/j-325-front-view.png)
/brands/jacuzzi-hot-tubs/j300/j-335/j-335-front-view.png)
/brands/jacuzzi-hot-tubs/j300/j-345/j-345-front-view.png)
/brands/jacuzzi-hot-tubs/j300/j-355/j-355-front-view.png)
/brands/jacuzzi-hot-tubs/j300/j-365/j-365-front-view.png)
/brands/jacuzzi-hot-tubs/j300/j-375/j-375-front-view.png)
/brands/jacuzzi-hot-tubs/j300/j-385/j-385-front-view.png)
/brands/jacuzzi-hot-tubs/j400/j-435/j-435-front-view.png)
/brands/jacuzzi-hot-tubs/j400/j-445/j-445-front-view.png)
/brands/jacuzzi-hot-tubs/jlx/j-lx/j-lx-front-view.png)
/brands/jacuzzi-hot-tubs/jlx/j-lxl/j-lxl-front-view.png)
/brands/jacuzzi-hot-tubs/play/echo/echo-front-view.png)
/brands/jacuzzi-hot-tubs/play/mood/mood-front-view.png)
/brands/jacuzzi-hot-tubs/play/soul/soul-front-view.png)
/brands/jacuzzi-hot-tubs/j200/j-285/j-285-front-view.png)
/brands/jacuzzi-swim-spas/poweractive-collection/j-16-poweractive/j-16-poweractive-front-view.png)
/brands/jacuzzi-swim-spas/powerpro-collection/j-16-powerpro/j-16-powerpro-front-view.png)
/brands/jacuzzi-swim-spas/poweractive-collection/j-19-poweractive/j-19-poweractive-front-view.png)
/brands/jacuzzi-swim-spas/powerplay-collection/j-13-powerplay/j-13-powerplay-front-view.png)
/brands/jacuzzi-swim-spas/powerpro-collection/j-19-powerpro/j-19-powerpro-front-view.png)

 by
by